
Instructions for Outlook 2016/2019/365 (Version 16)
1. Start Outlook.
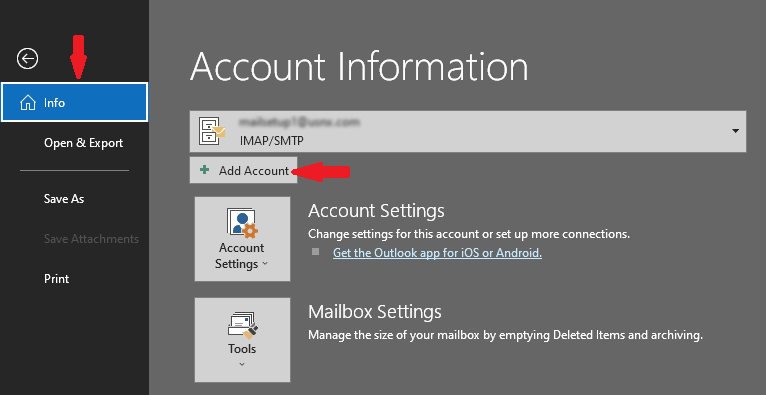
2. Click File -> Info -> Add Account.
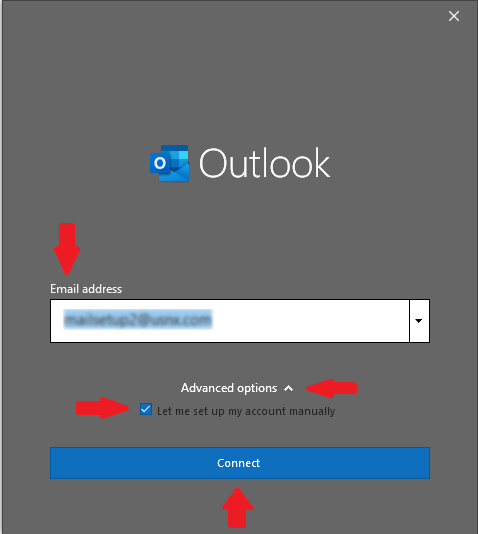
3. Enter the email address in the “Email address” field, expand “Advanced options”, check the “Let me set up my account manually” box, and click “Connect”.
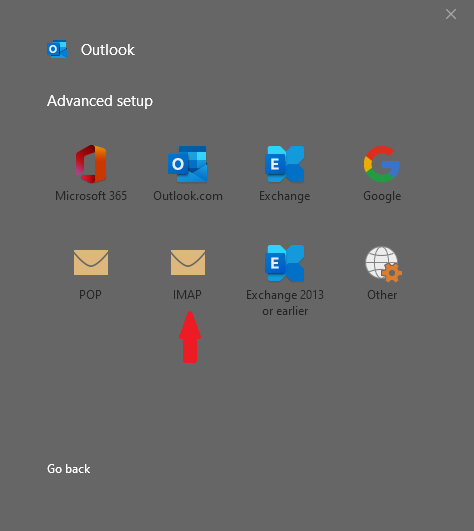
4. Click on IMAP.
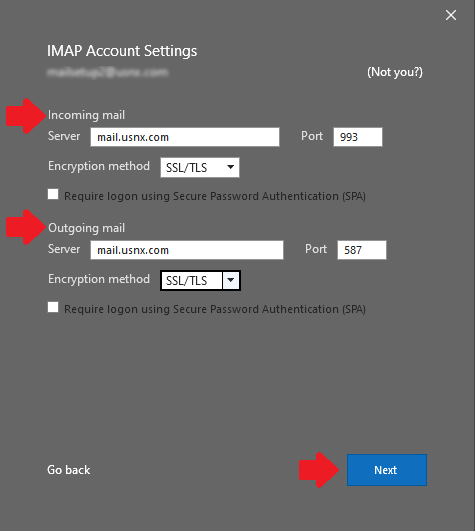
5. Fill in the “IMAP Account Settings” form with the information from the screenshot and click “Next”.
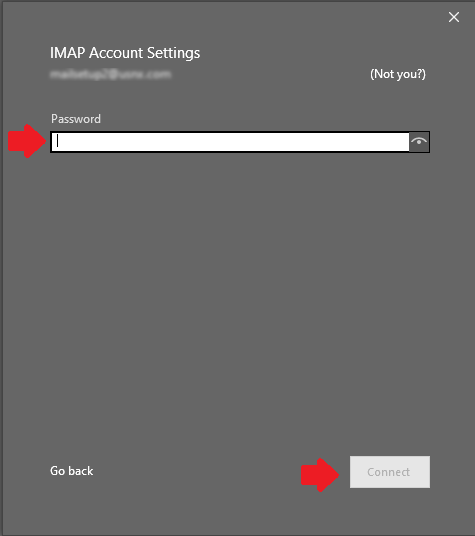
6. Enter the email password in the “Password” field and click “Connect”.
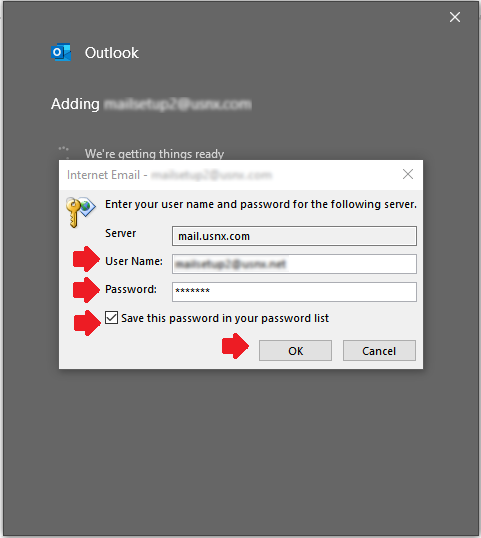
7. If you are not presented with a password prompt, proceed to step 8. If a password prompt does appear, please re-enter the username and password, check the “Save this password in your password list” box, and click “OK”. Please note that, generally, the username is the same as the email address, but if we provided a specific value for the username when we created your email account that is different from the email address, then please be sure you are entering that username.
8. If you see “Account successfully added” then you are done and you can click “Done” to finish. If there was a problem, please contact us for support.
